
Digging & Dividing Dahlias: What One Winter Taught Me
By the time winter arrived, I had hundreds of dahlia clumps to lift, clean, sort and divide. I quickly learned that the only way to keep my head – and keep varieties true – was to slow the whole process down.
This isn't the glamorous side of dahlias, but it's the part that protects all the work that came before it. Every clump represented a flower I wanted to see again in spring.
Labelling starts in the bed
Before a clump ever left the bed, I took the plant label that belonged to that dahlia and tied it directly to the clump with flagging tape. I also wrote the variety name on the tape itself. It felt a little excessive at first, but with hundreds of clumps moving through the same process, two forms of identification gave me a much better chance of keeping every variety true.
Then I learned another lesson the hard way. If I waited too long to lift and the stems had become dry and brittle, the stem could simply snap away during washing – taking my carefully tied label with it. That is exactly how an "unknown" is born.
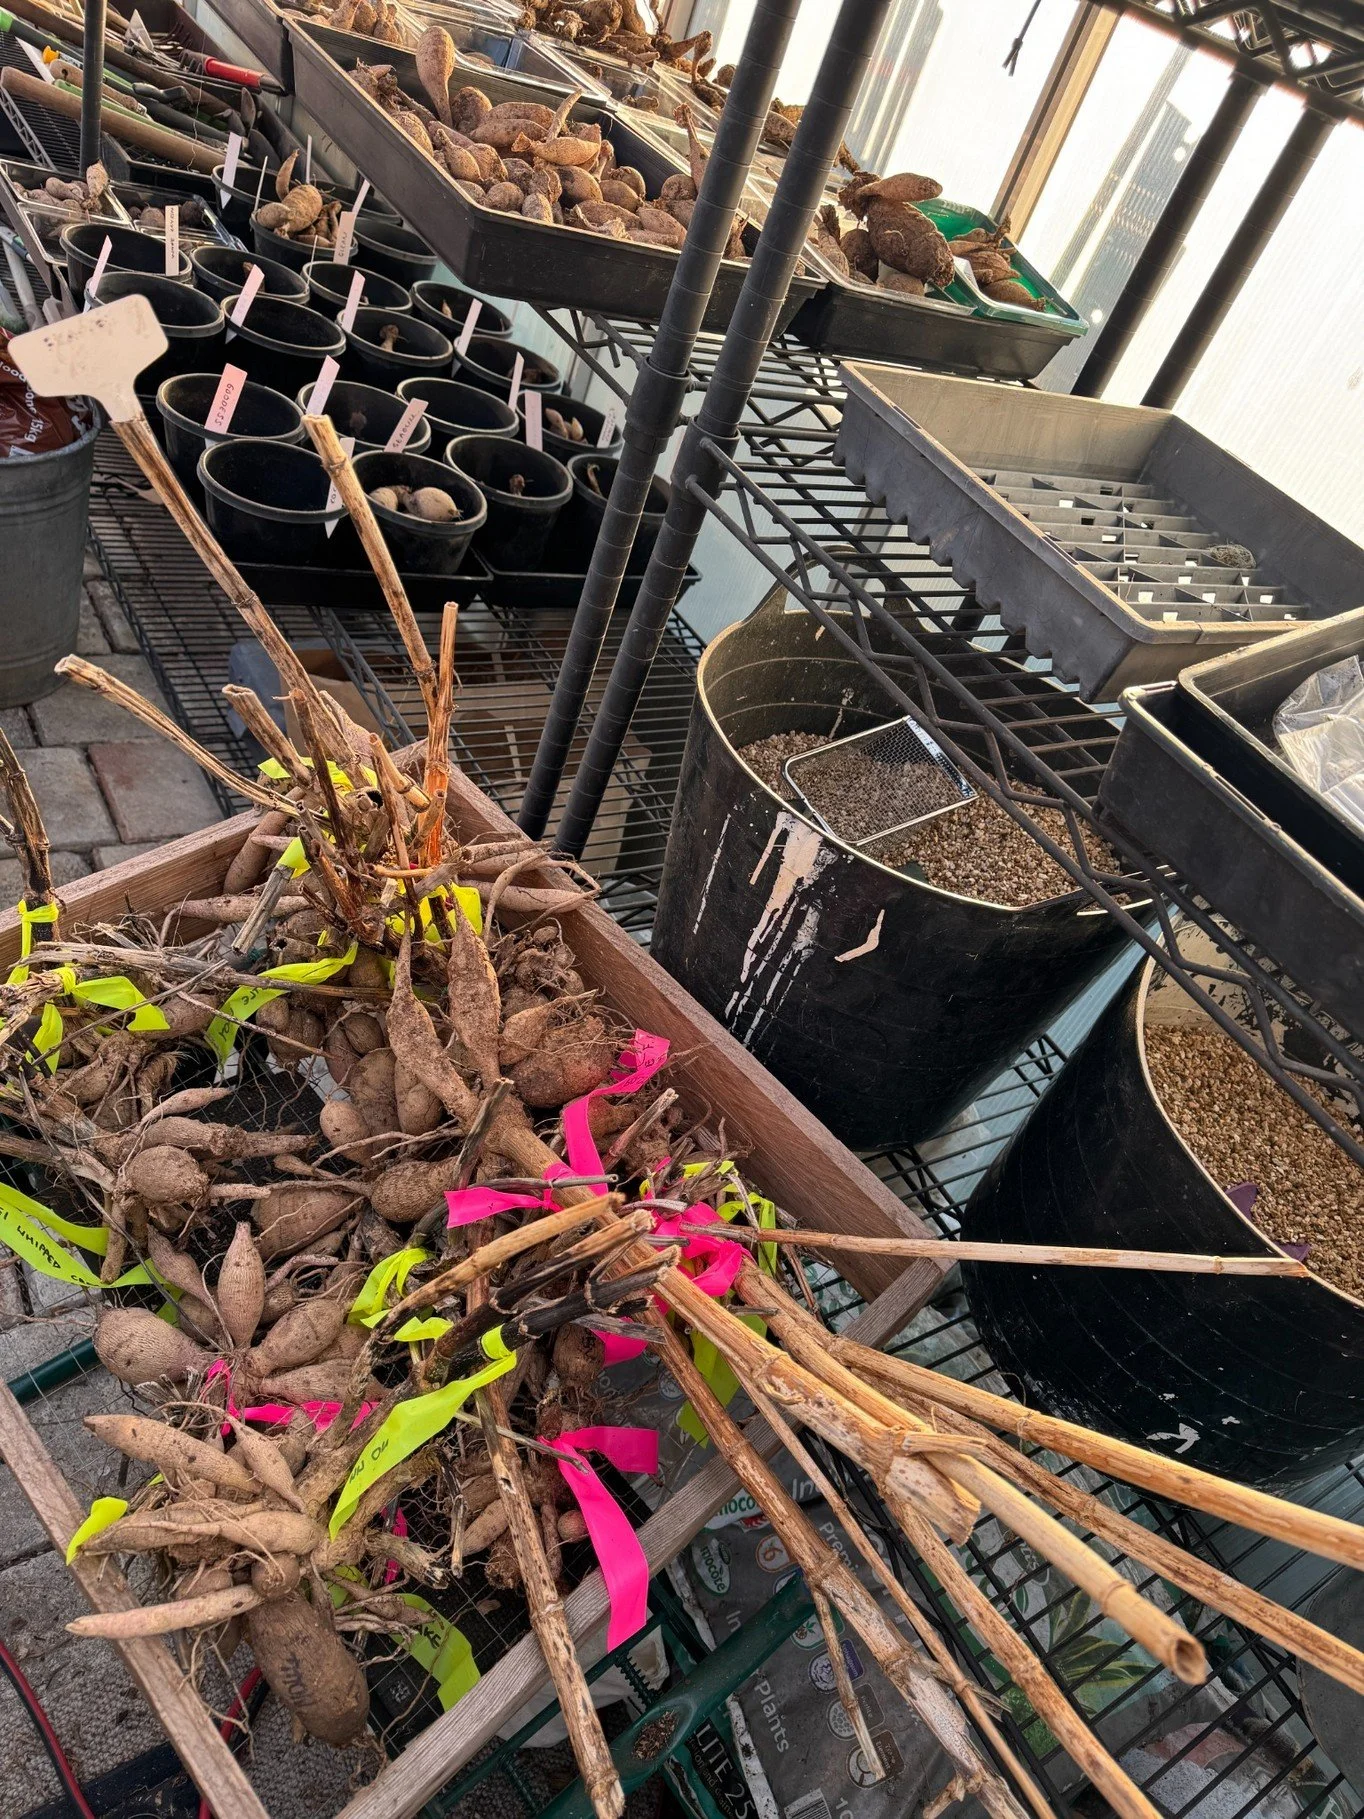
Clumps waiting their turn – labels and flagging tape stay with the variety from the bed onward.
The lesson: Don't rely on one label, one brittle stem or your memory. Build redundancy into the system before the tubers are washed, divided or moved.
A make-it-work washing station
This year our washing station was wonderfully makeshift – and it worked. We used three raised planters as the base and laid wire mesh over the top. That gave a comfortable working height and a surface that let soil and water fall straight through.
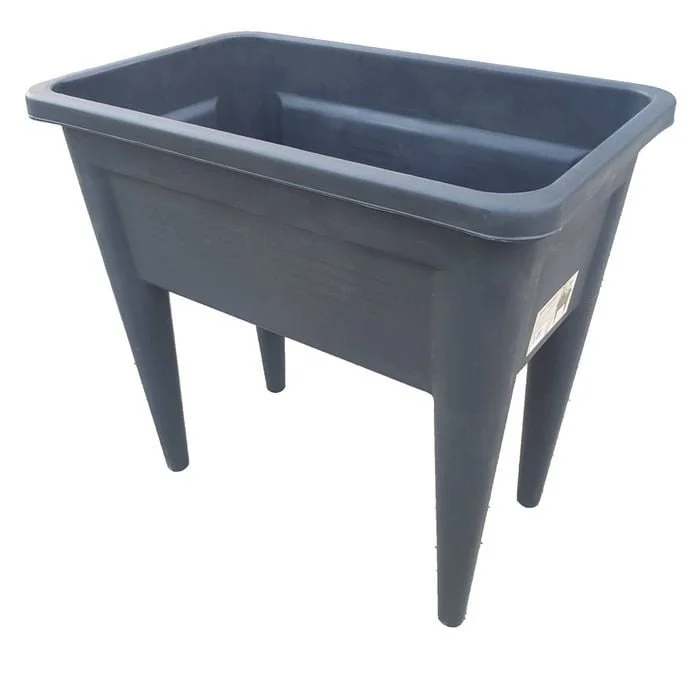
Raised planters became the base.
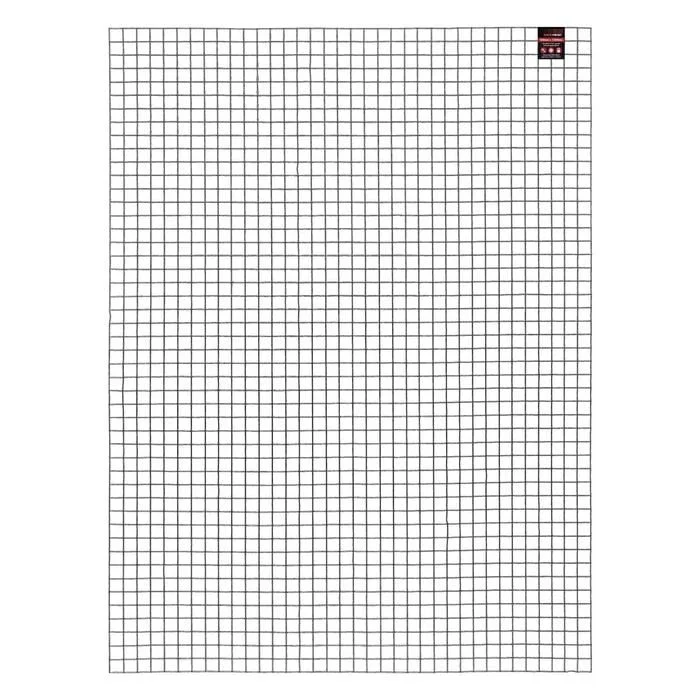
Wire mesh created the washing surface.
Beside it we kept two flexible tubs of water. Each clump had a first rinse to loosen the heavy soil, then a second rinse in cleaner water. From there it went onto the wire mesh for a thorough wash with the hose and a high-pressure nozzle.
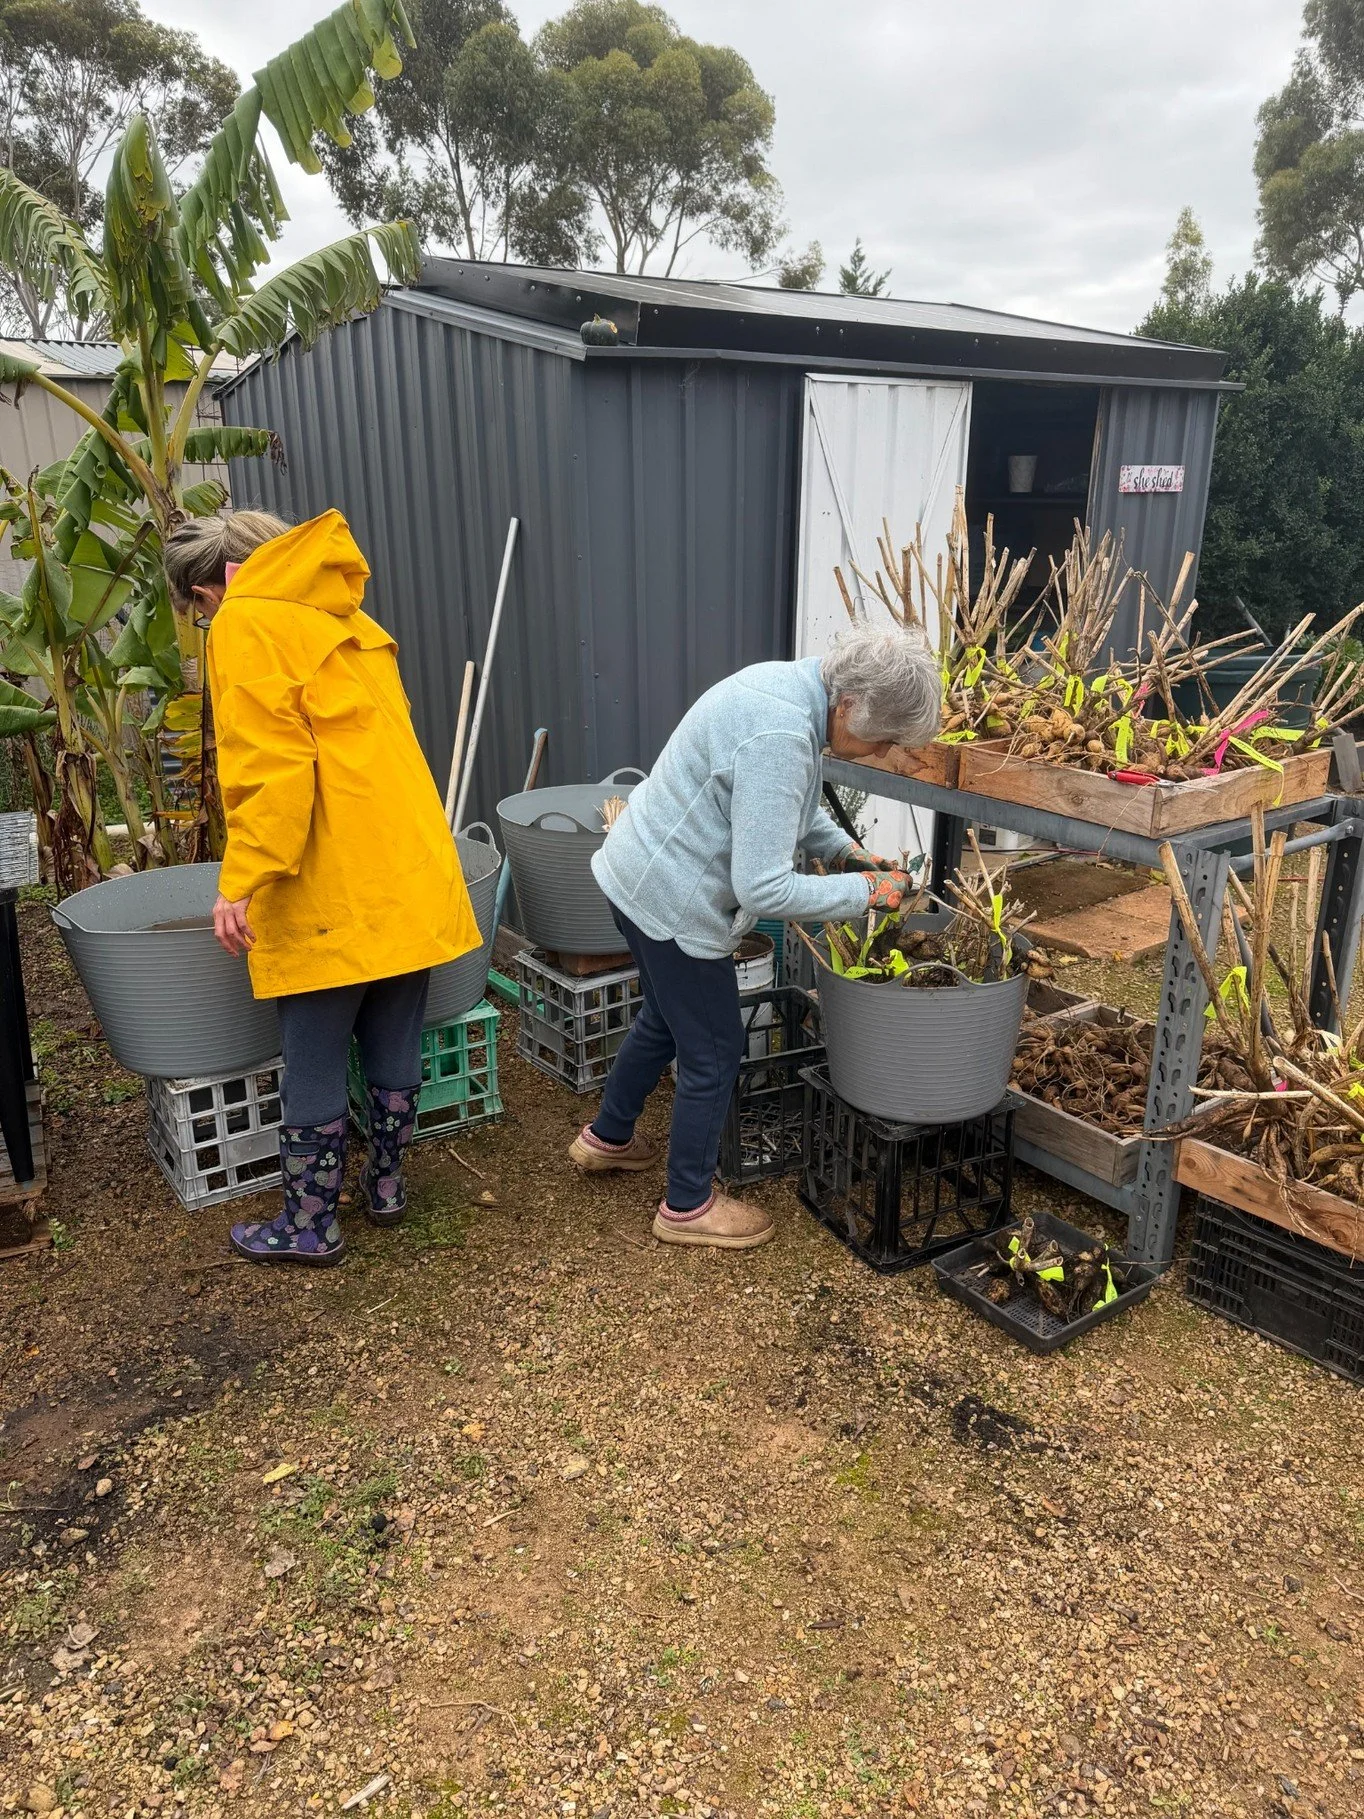
Washing day with Vovó – the unglamorous, muddy part of saving next season's flowers.
After washing, the clumps went onto timber drying frames Jason made for me – simple wooden frames with mesh stapled underneath. The open base lets air move around the tubers and water drain away instead of pooling underneath.
One variety, one tray
Once the tubers had drained and the outside was dry enough to handle, they moved into the greenhouse for dividing. And yes – in the middle of a Melbourne winter, there was a heater beside me.
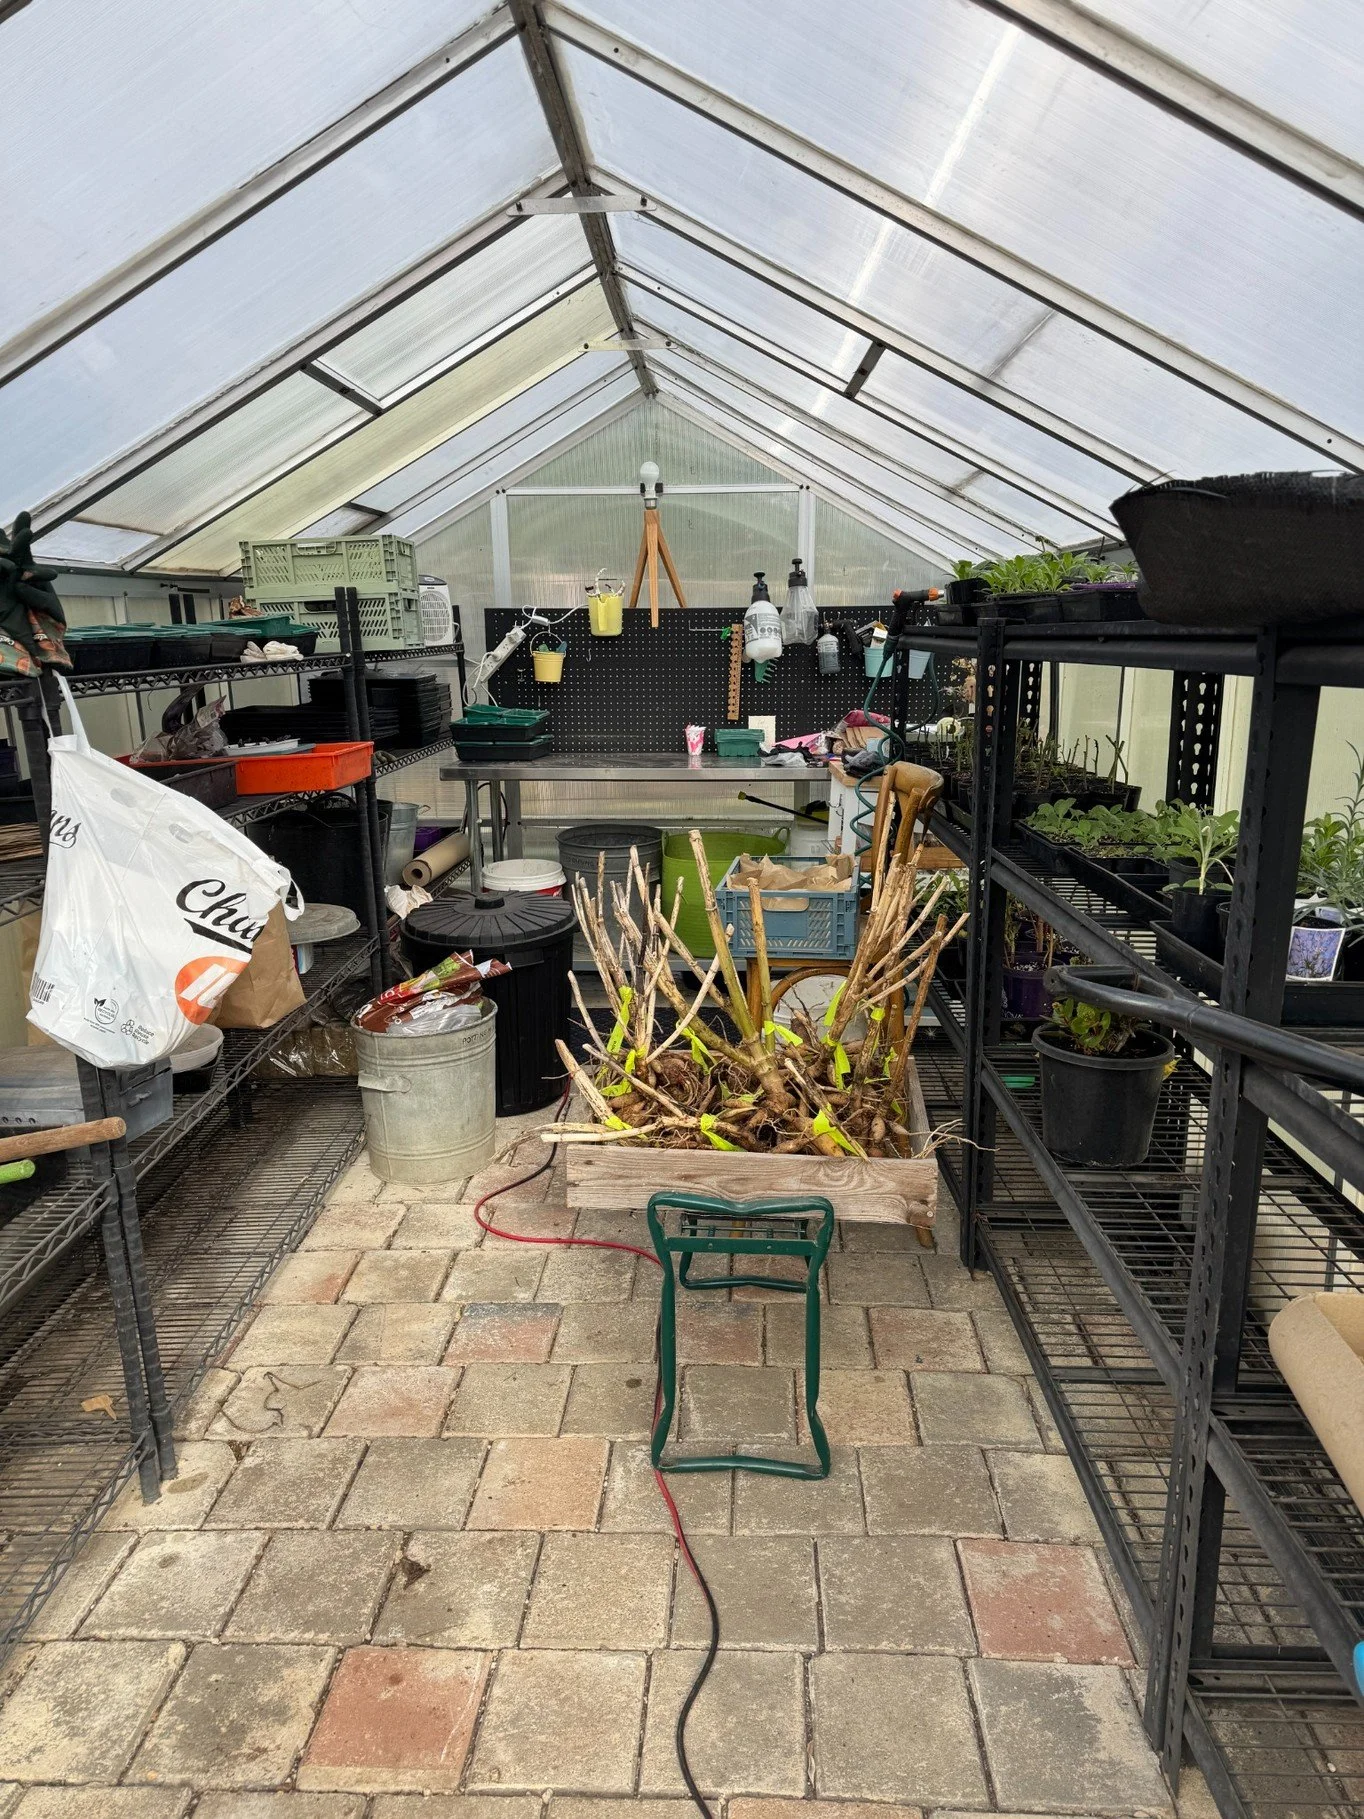
The greenhouse became the processing room: washed clumps, drying frames, trays, pots and labels everywhere.
This is where my "one variety at a time" rule mattered most. Each variety went into its own tray, and I didn't start another until the first was identified and contained. Some days it looked beautifully organised. Other days it looked like a small dahlia explosion.
When dividing, I:
separate healthy tubers with a piece of crown and a viable eye wherever possible
discard anything soft, damaged or suspicious before it joins the clean stock
let cuts dry before packing anything away.
My rule now: One variety in the work area at a time. Finish the labelling before opening the next tray. The slower I go at the bench, the faster everything becomes later – mixing varieties or losing a label costs far more time than an extra minute of care.
The FOG code experiment
We created a Field of Grace coding system: FOG plus a number linked back to the variety name. The idea was to avoid writing long names over and over on every tuber. On paper it was perfect.
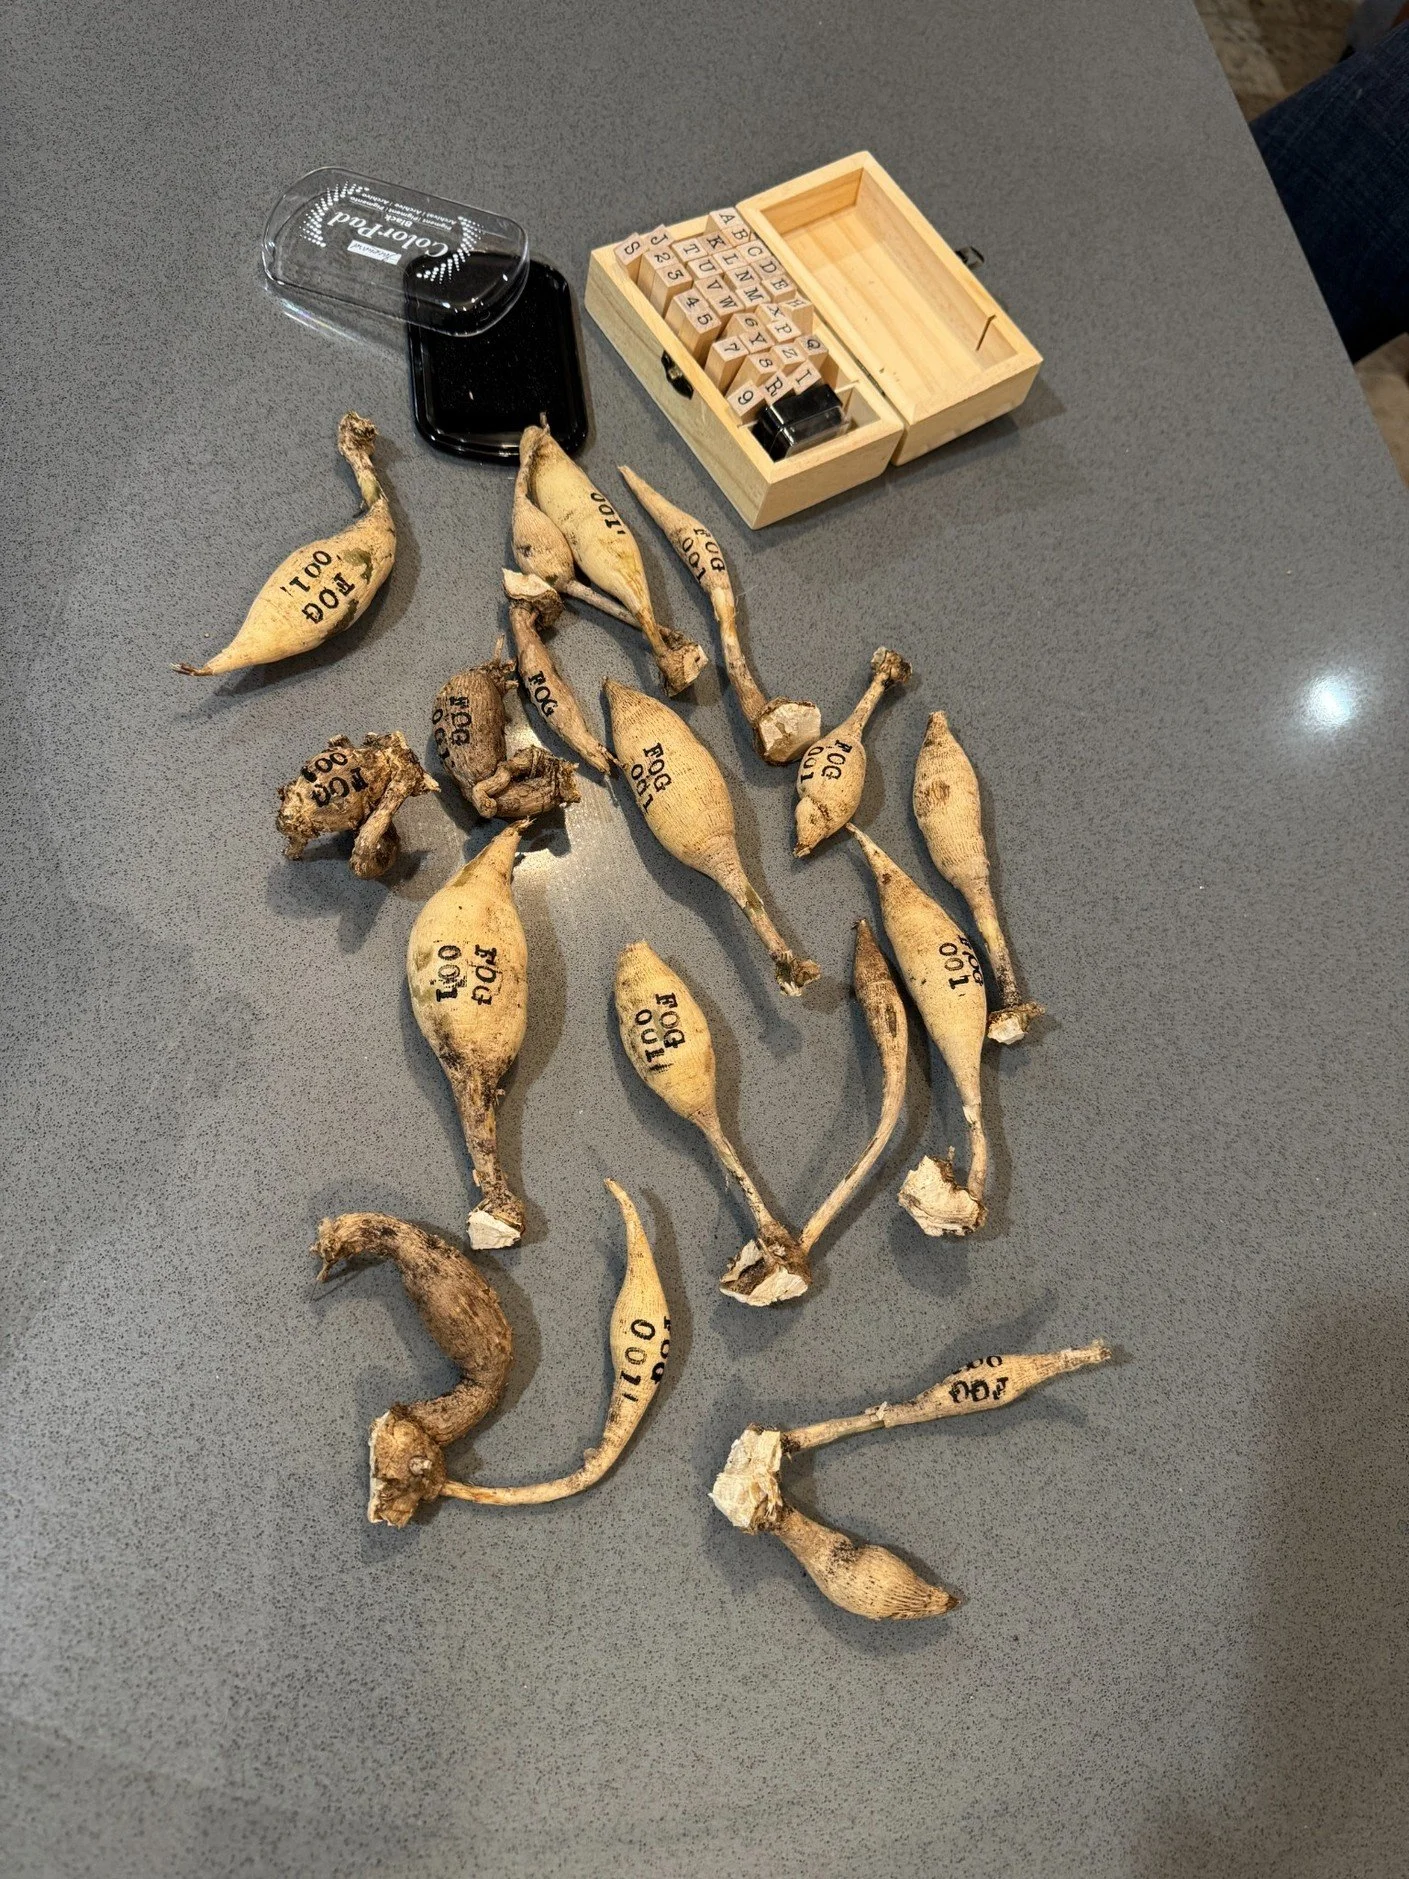
Our FOG numbering experiment – tidy, quick and easy to read when it worked.
In practice, some of the ink bled into the tuber skin or smudged, so the number we were relying on could become hard to read. That was too much risk for something as important as identification. So we adjusted rather than forcing it.
I've kept the FOG code, but I now write it with a Sharpie Extreme, which stays clear on the skin. What matters isn't whether a system looks clever – it's whether I can still read it months later, when that tuber is ready to plant or sell.
What I'd tell a new grower: Test your pen, marker, stamp or label system on a small batch before committing hundreds of tubers to it. Then check those test tubers again after they've dried and sat for a while.
My process for next season
Lift the clump while the stems are still strong enough to carry identification.
Double label – keep the original label with the clump and add flagging tape with the variety name.
First rinse in the first tub to loosen the bulk of the soil.
Second rinse in cleaner water.
Hose thoroughly on the wire-mesh station.
Drain and dry on the mesh-bottom timber frames so air can circulate.
Divide one variety at a time in the greenhouse.
Mark each tuber clearly with its FOG code in a reliable permanent marker.
Tray the finished variety before starting the next.
Store and check – store only once dry, then keep checking through winter.
I'm still refining it. I probably always will be. Every winter brings a new system, a new mistake, a better idea and another little piece of knowledge to carry into spring.
Next: how I store tubers over winter – and the shed shelf that taught me the hardest lesson.