
Storing Dahlia Tubers: The Shed Looked Perfect. The Top Shelf Was Not.
"I thought storing tubers would be the easy part. It turned out to be the part that taught me the most."
The shed that looked perfect
I was so excited about setting up a dedicated shed for storage. Shelving went in, the boxes were labelled, and I stacked them from the floor right up to the roof. It looked wonderfully organised.
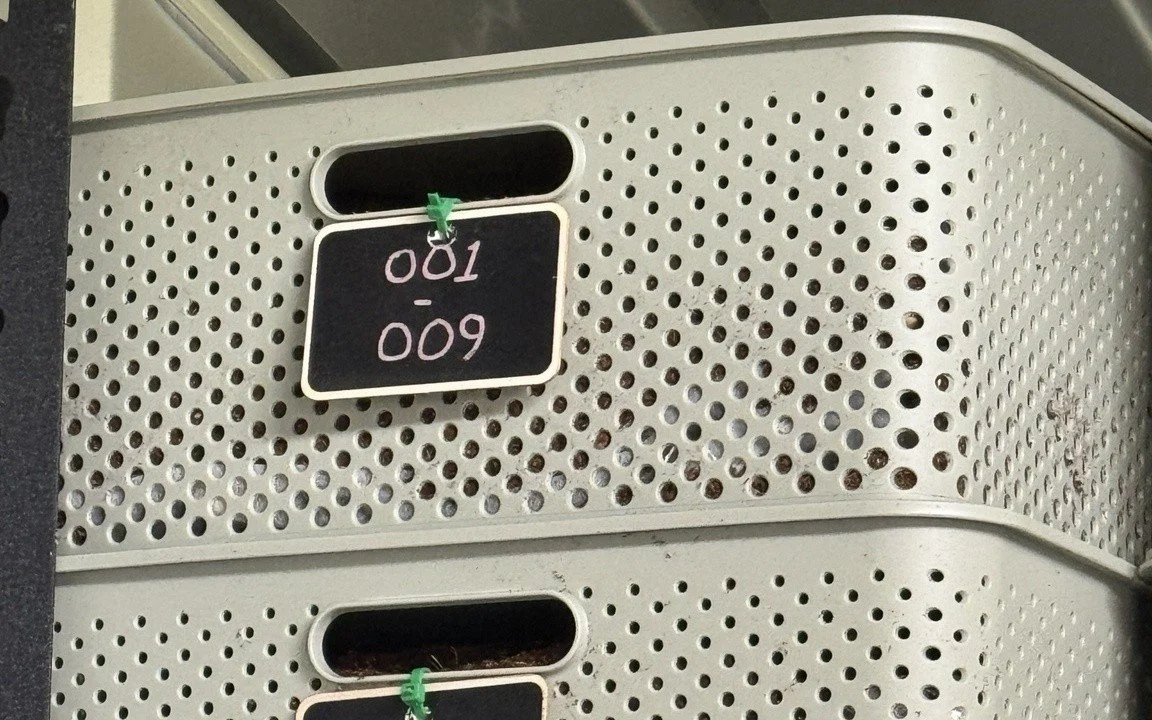
My labelled storage boxes in the shed – neat, ventilated and stacked from floor to ceiling.
What I hadn't properly allowed for was the temperature difference inside a simple shed. Heat rises. The boxes on the highest shelf had much more warmth and fluctuation than those lower down – and that's where I suffered my heaviest losses to rot.
The lesson I paid for: A storage space can feel cool overall and still have very different little climates from shelf to shelf. In an uninsulated or lightly insulated shed, the warmest shelf may be the one closest to the roof.
What I'd do differently now
Use the middle and lower shelves for the most valuable or vulnerable stock.
Keep boxes away from the roof and from sun-heated walls where possible.
Aim for a cool, dark, frost-free space with as little temperature swing as you can manage.
Pack tubers only when they're properly dry on the outside – the storage medium should never feel wet.
Keep varieties separated and clearly labelled, even inside a larger box.
Check boxes regularly rather than trusting them until spring. One rotten tuber can quickly become several.
There are many successful storage methods – peat, vermiculite, wood shavings, wrapped tubers, crates and boxes – and climate matters. For me, the bigger lesson wasn't finding one "perfect" material. It was learning to manage moisture, temperature and checking.
Blanket, coffee… and checking who had woken up
When the weather gave me a beautiful warm Friday, I went through all 40 boxes – opening each one, giving the tubers some fresh air and checking what had woken up. Naturally, Melbourne followed with torrential rain for the next few days. By then I couldn't bear to move the whole operation again, so I wrapped myself in a blanket, made a coffee and kept going.
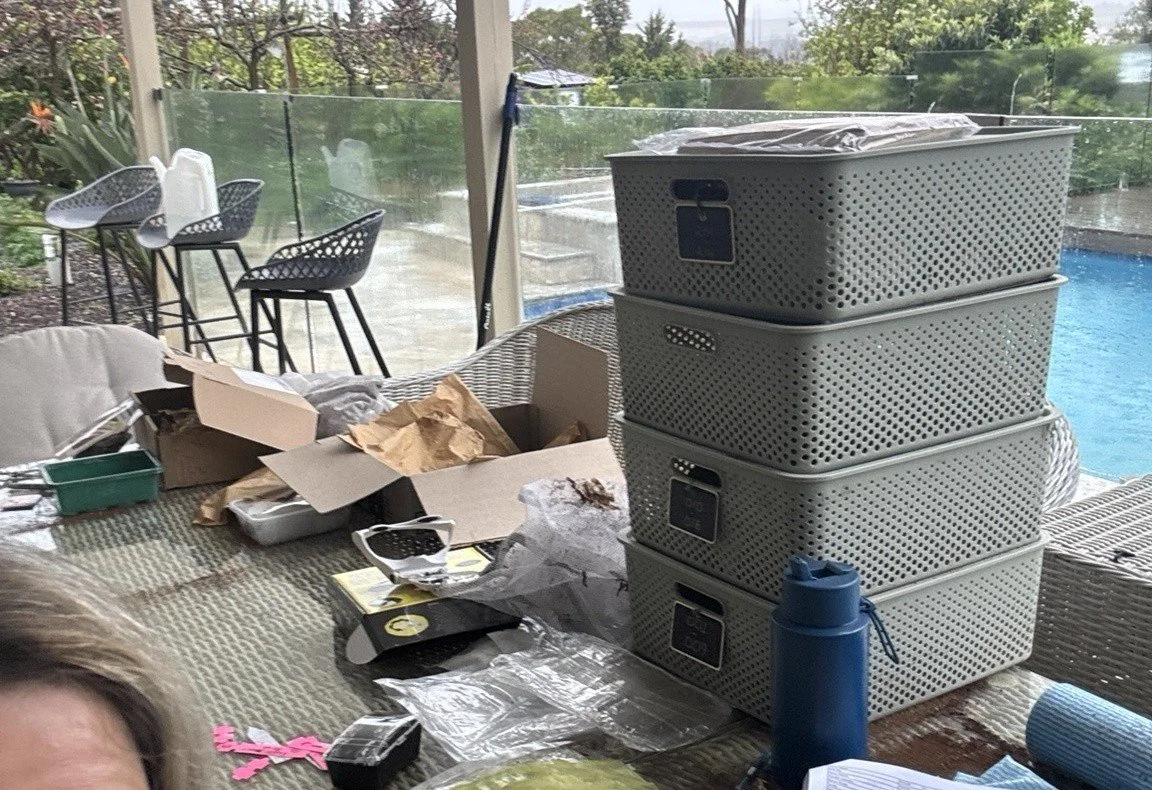
One rare warm Melbourne Friday turned into days of rain – so the boxes came under cover, and the blanket and coffee stayed.
Those checks became one of the most useful parts of storage. I could remove anything starting to rot, find tubers that were drying out, and separate the ones that had begun to wake up.
What I check for each time:
Rot – softness, wet patches, smell or mould. Remove it immediately and check anything touching it.
Drying – shrivelling means the tuber is losing moisture. I review the storage medium and where that box sits.
Condensation – moisture on the lid or very damp medium means the box is too wet or the temperature is swinging.
Waking up – eyes or shoots mean the tuber is alive and ready for the next stage when conditions suit.
Labels – every variety is still traceable before the box closes again.
A little grace for the grower: Losing tubers is heartbreaking, but every season teaches. My losses changed how I stack, how I check and how I store.
Storage FAQ: what I ask before a box goes away
Do the tubers need to be completely dry?
The outside should be dry before storage, especially around fresh cuts. You're avoiding surface moisture that encourages rot, while still stopping the tuber from going bone-dry over winter.
Should the storage medium be wet?
No. If you use coco peat or another medium, think barely damp rather than wet. If you can squeeze water from it, it's far too wet.
Do the boxes need airflow?
Some airflow helps, but the goal is balance. Too sealed and damp can encourage rot; too open in a dry spot can dehydrate tubers. Your local conditions matter.
Where's the best place in a shed?
The most temperature-stable area you have. In my shed the top shelves were warmer and more variable, so I now treat the middle and lower shelves as the safer real estate.
How often should I check them?
Often enough that a small problem stays small. I'd rather open a box unnecessarily than find rot has travelled through an entire variety.
What if I find rot?
Remove the affected tuber straight away. If the damage is localised and there's healthy tissue left, trim back to clean tissue with a sanitised tool and let the cut dry before repacking.
What if a tuber has started shooting?
That's not automatically a problem – it's simply waking. Protect the new growth and move it into your spring-starting system when your conditions are right.
What's the best storage method?
There's no one answer for every climate or grower. The best method is the one that keeps your tubers cool, dark, frost-free, not too wet, not too dry – and easy for you to check.
Still learning, still growing
Field of Grace began as a family garden, and it is still growing. These are simply the methods and lessons working for me as I learn – shared in the hope they make someone else's first winter a little easier.
Still grateful for every tuber that makes it through winter.
Missed the first part? Read how I lift, label, wash and divide.
Field of Grace – where beauty grows, and grace is shared.